Walkthrough
Create a Raindrop account
When you sign up for Raindrop, you’ll see the default onboarding flow. You can skip this and go directly to your Raindrop dashboard since the Wizard will do this step automatically.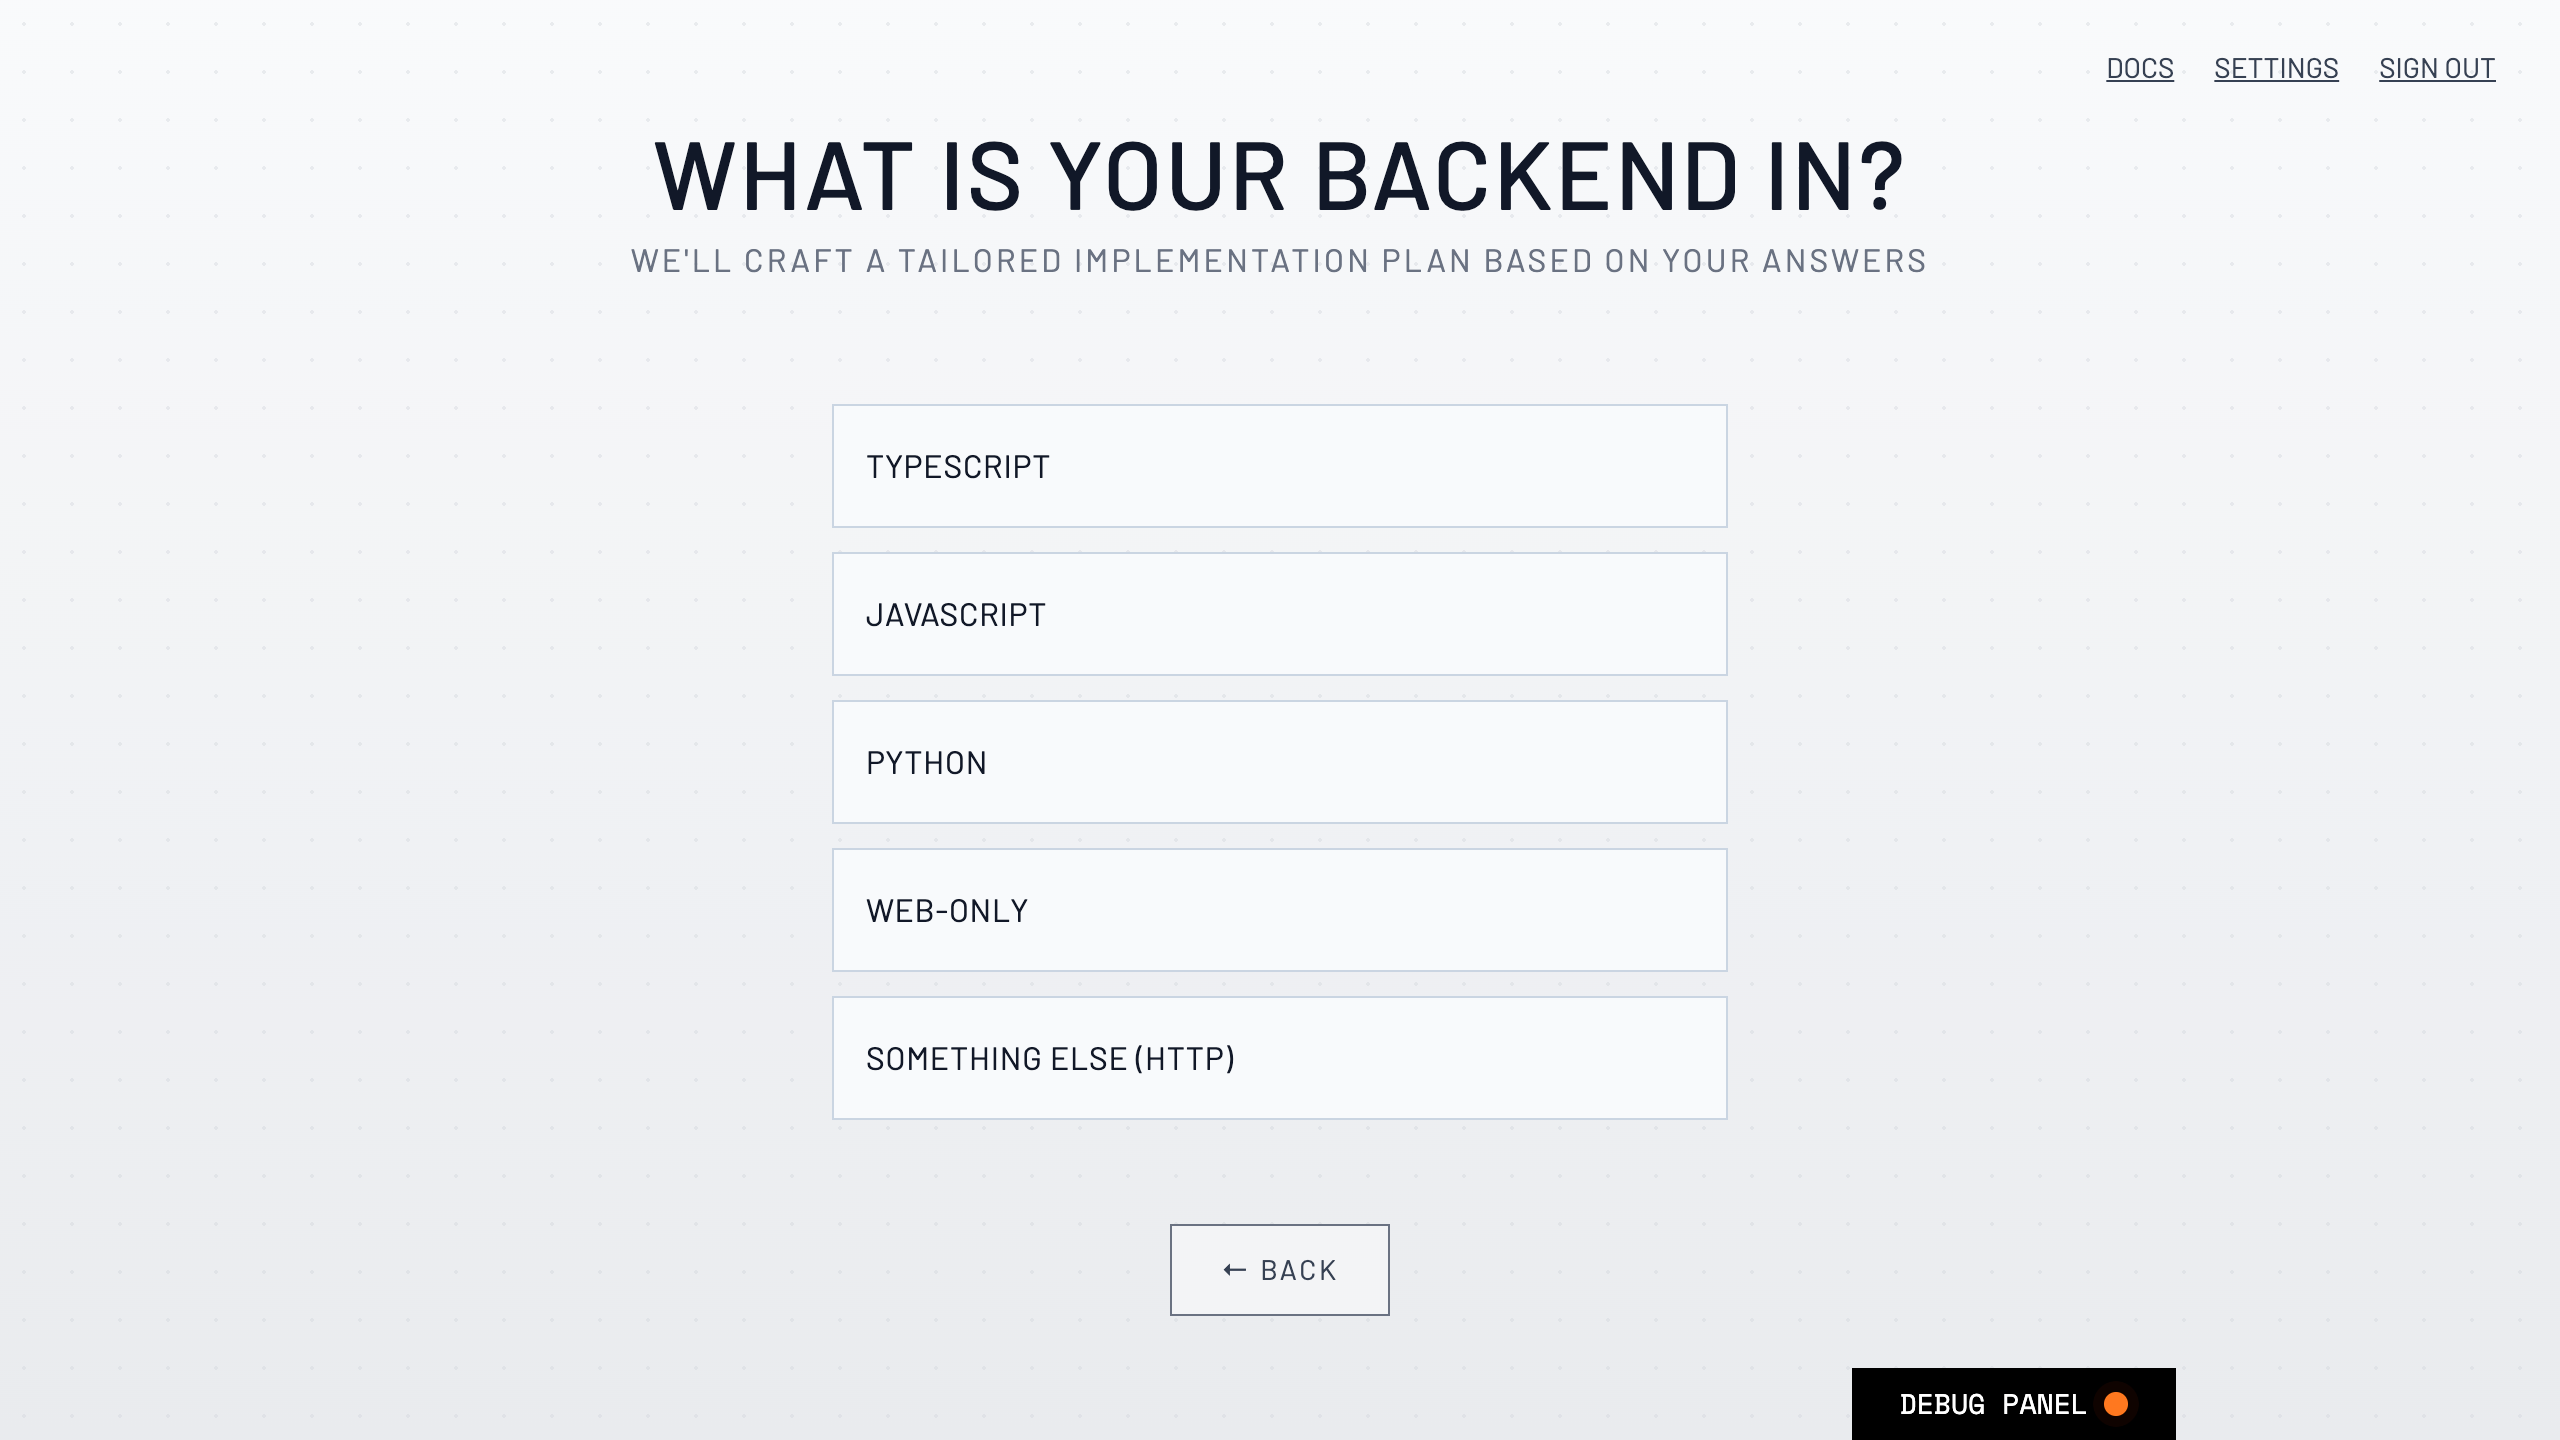
Installation Steps
Authorize Raindrop Wizard
Start the Wizard in your AI project directory using 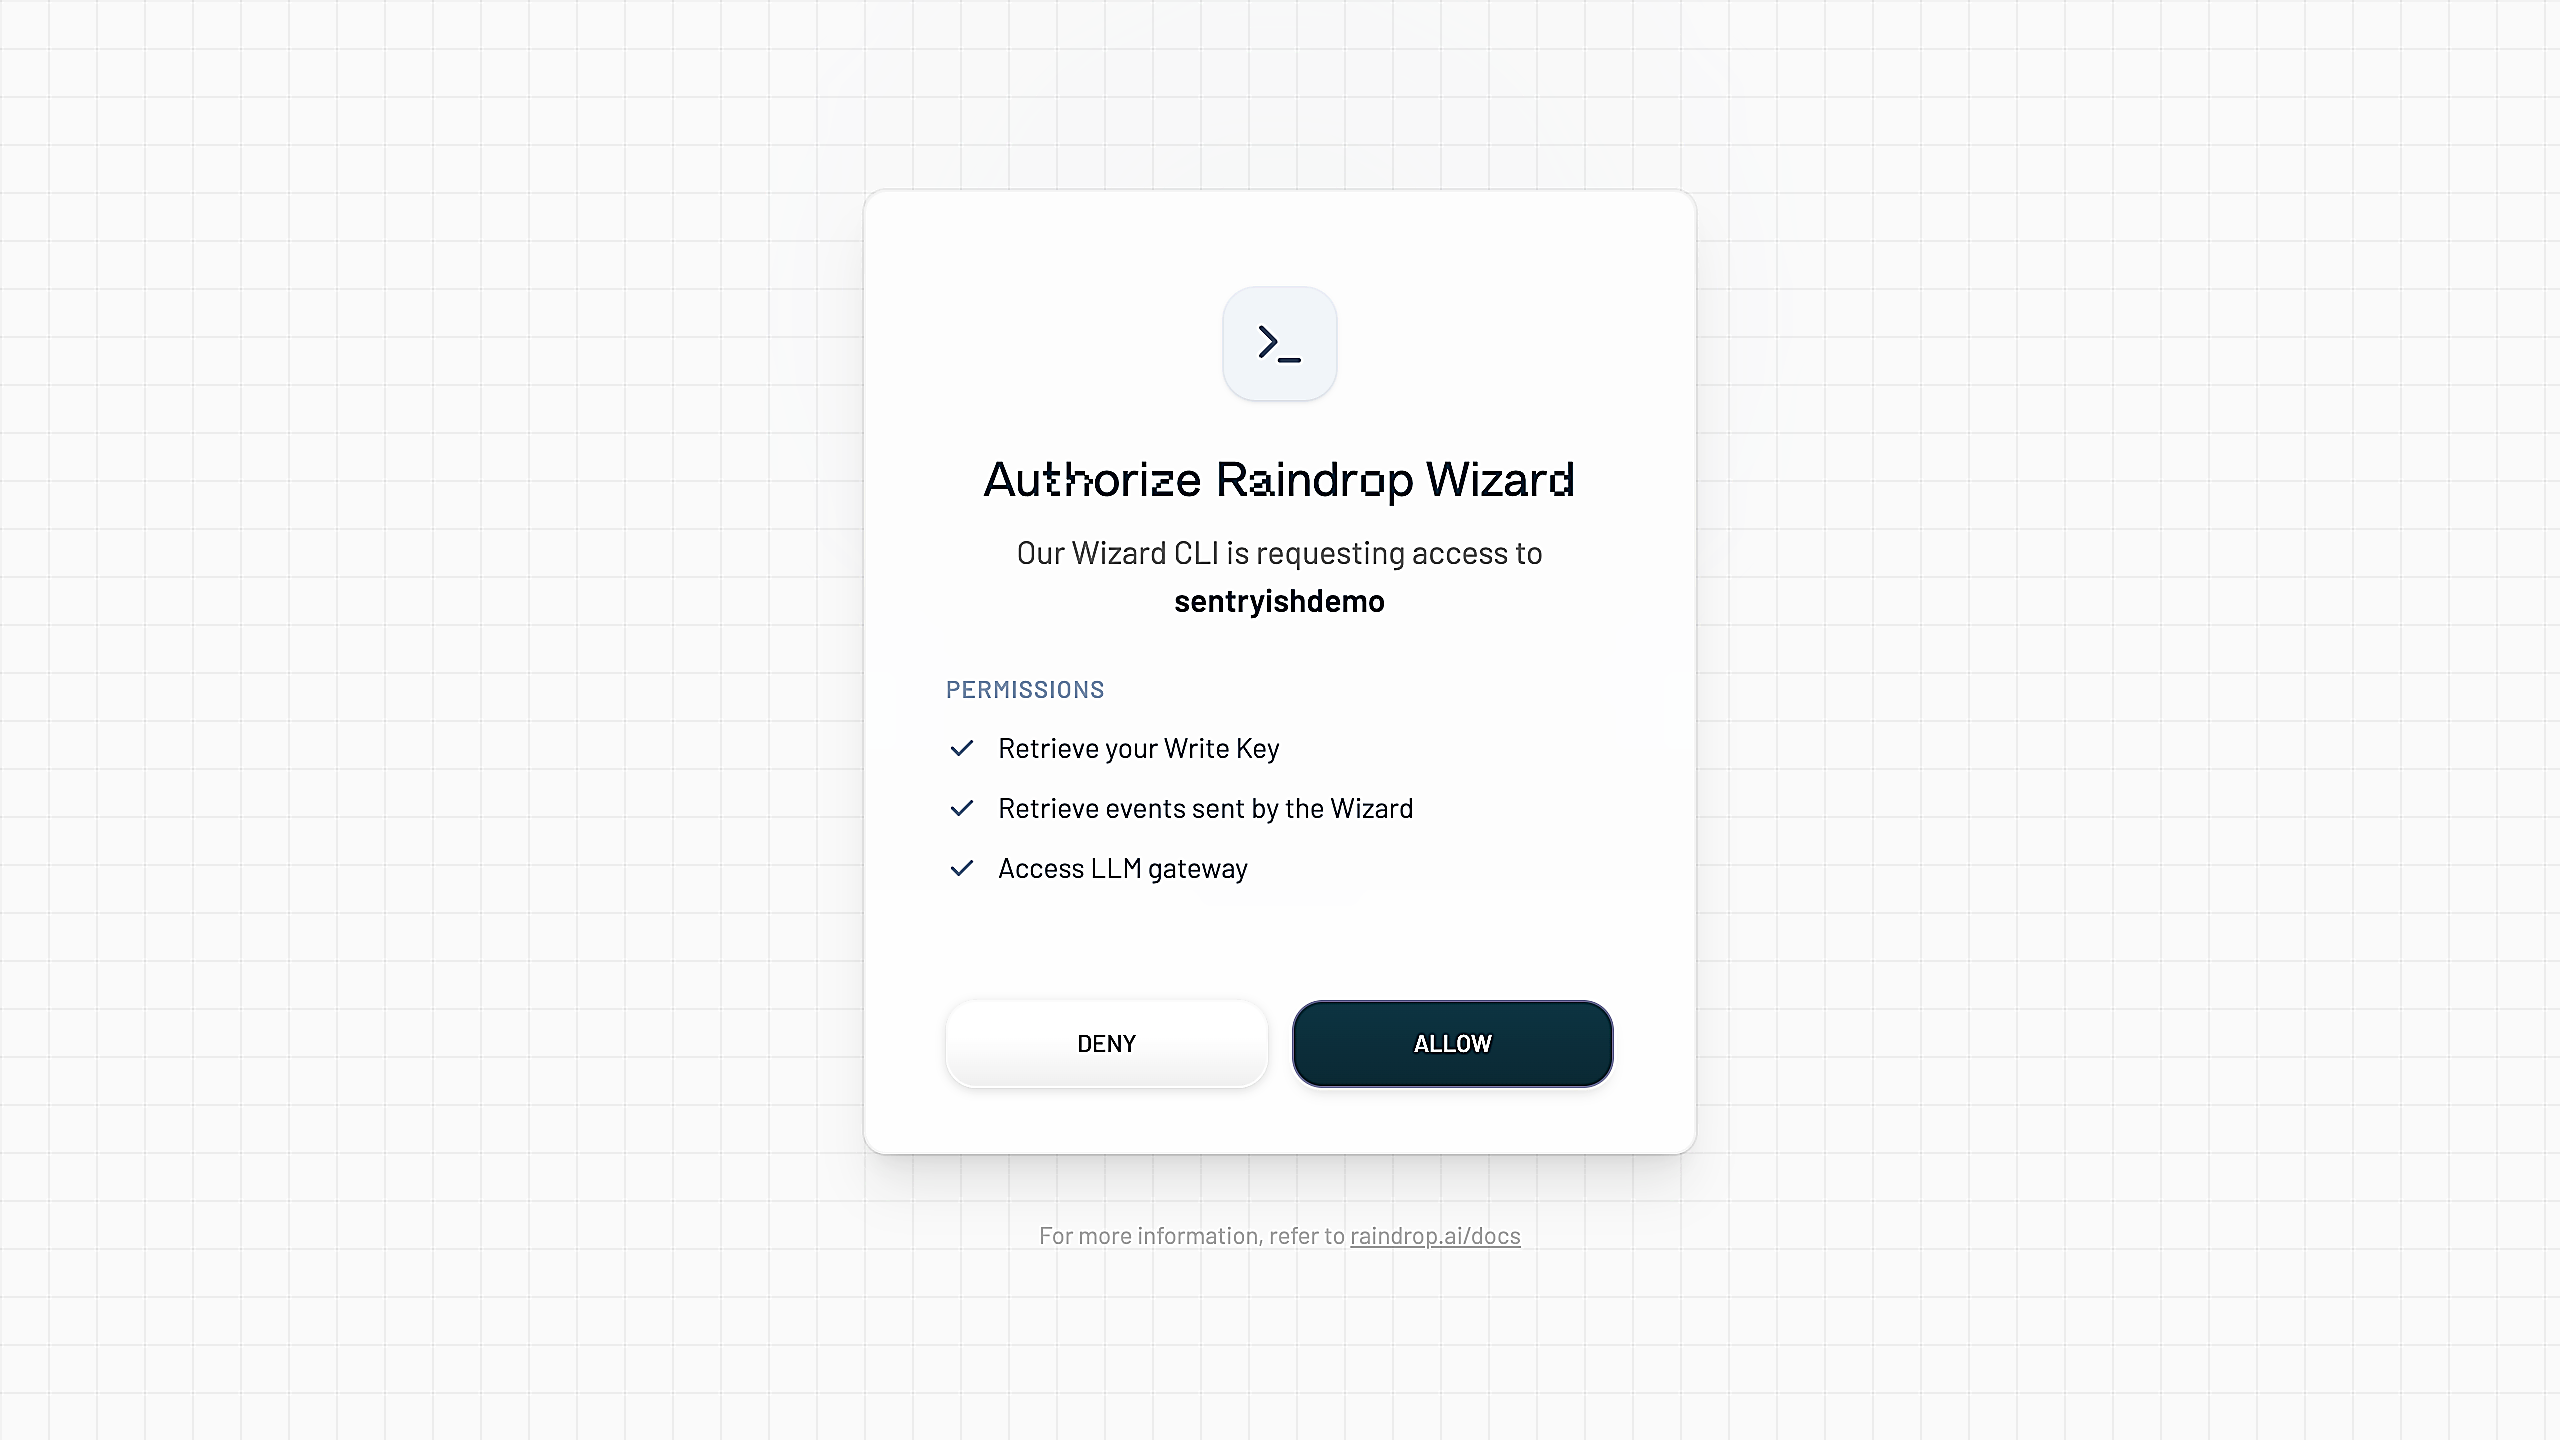
npx @raindrop-ai/wizard@latest and authenticate with your Raindrop account. The Wizard will retrieve your RAINDROP_WRITE_KEY.Agent Run
The Wizard scans your codebase for AI features and instruments your main AI features by using the best Raindrop SDK.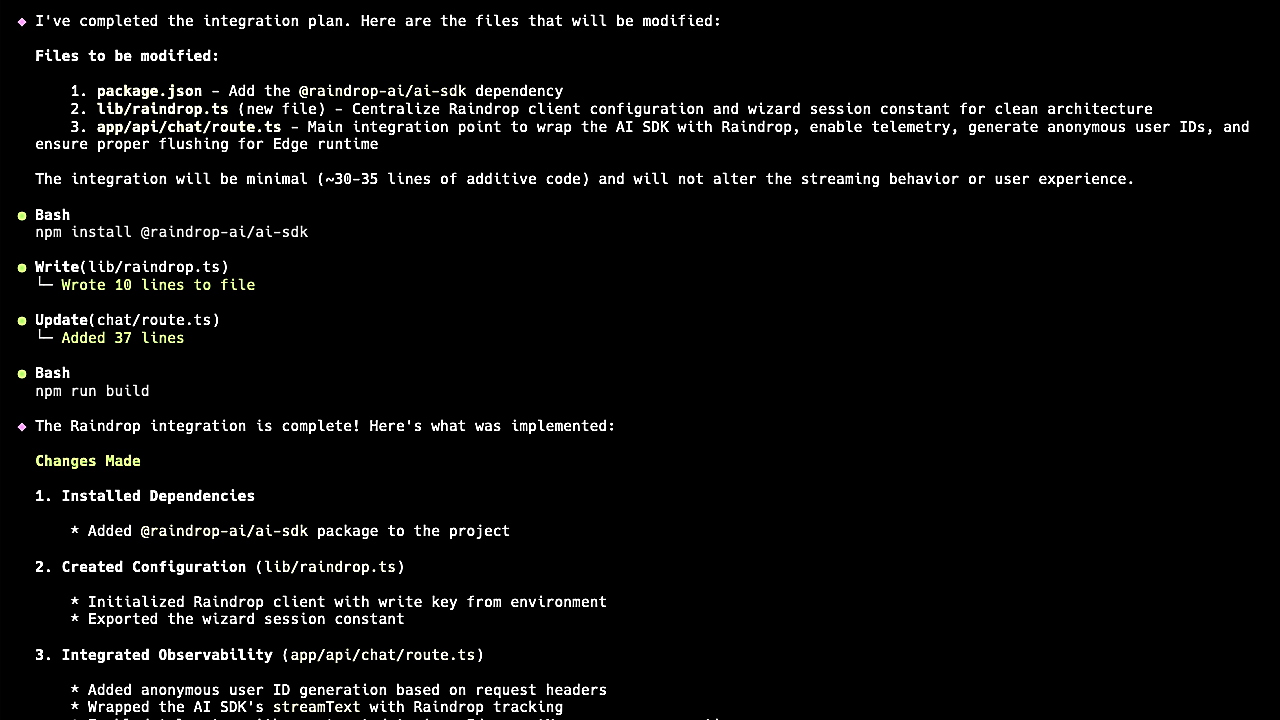
Send Events
To validate that your integration works, send a message to your AI agent. Within a couple seconds, confirm that the event appears in the Wizard, and click the link to the Raindrop dashboard.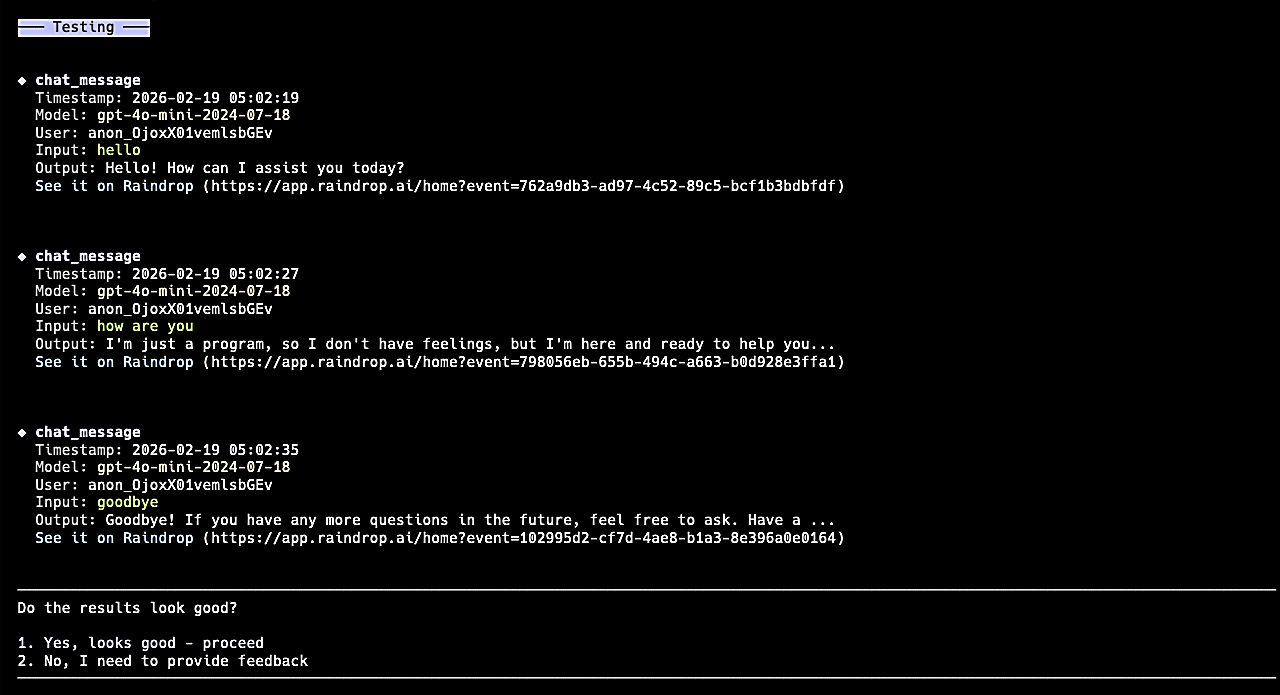
How it works
The Wizard runs a Claude Agent SDK agent on your machine. We provide the agent with our documentation as well as instructions for it’s execution flow. It uses Anthropic’spreToolUse hook to block access to sensitive files (.env, .pem, .key, credentials, etc.).
If the Wizard didn’t integrate successfully, contact us and we’ll pick up where it left off.